How to Clear Laptop Hard Drive: Securely Wipe in Minutes

So, you think you know how to clear a laptop hard drive? It’s a bit more involved than just dragging files to the trash. You need the right tools to completely overwrite the data, making it impossible to recover.
For most people, this means using the built-in "Reset this PC" feature on Windows or firing up "Disk Utility" on a Mac. These tools are designed to securely erase your drive and ensure your personal info is gone for good before you sell, donate, or recycle your old machine.
Why Simply Deleting Files Is Not Enough
Ever moved a sensitive file to the trash and assumed it was gone forever? Think again. The reality is that when you "delete" something—or even do a quick format—you're not actually wiping the data.
What your operating system does is much simpler: it just removes the pointers to that data. Think of them as signposts. The signposts are gone, but the data itself—all the ones and zeros that make up your documents, photos, and financial records—is still sitting right there on the drive. Anyone with basic data recovery software could easily bring it all back, creating a massive privacy headache for you.
This is why learning how to properly clear a laptop hard drive is so critical. We're not just talking about freeing up space; this is about data sanitization.
HDDs vs. SSDs: A Tale of Two Technologies
The type of drive you have completely changes the game. Old-school Hard Disk Drives (HDDs) and modern Solid-State Drives (SSDs) work in fundamentally different ways, so you can't treat them the same when it comes to erasure.
- Hard Disk Drives (HDDs): These are the classic spinning platters that store data magnetically. Wiping them securely means overwriting the entire drive with random data, sometimes multiple times, to scramble any trace of the original information.
- Solid-State Drives (SSDs): SSDs use flash memory, and constantly overwriting them can actually wear them out faster. Instead, they have a built-in command like Secure Erase or TRIM that tells the drive to reset its memory cells, which is a much more effective and safer way to destroy the data.
You’ve probably heard some wild myths about data destruction, from taking a hammer to the drive to zapping it with magnets. While smashing your hardware is certainly one way to go, it's usually overkill. If you're curious about the magnet myth, we have a whole guide exploring if erasing hard drives with magnets actually works.
Before you get started, it helps to understand what you're up against. Let's break down the most common ways people get rid of data and see how they stack up.
Comparing Data Deletion Methods
Here’s a quick look at common data deletion methods and how secure they really are.
| Method | How It Works | Security Level | Best For |
|---|---|---|---|
| Standard Deletion | Moves files to the Recycle Bin/Trash. Removes file pointers, not the data. | Very Low | Freeing up space temporarily. |
| Quick Format | Erases the file allocation table, making data "invisible" but still recoverable. | Low | Preparing a drive for reuse by you. |
| Software Overwriting | Writes random data (zeros and ones) over the entire drive, making original data unrecoverable. | High | Securely wiping HDDs before resale or disposal. |
| Secure Erase (SSD) | A firmware command that resets all storage cells to an empty state. | Very High | Securely wiping SSDs without causing unnecessary wear. |
| Physical Destruction | Shredding, degaussing, or physically damaging the drive beyond repair. | Maximum | Destroying highly sensitive data or complying with strict regulations. |
As you can see, simply deleting files or running a quick format just doesn't cut it if you're serious about protecting your information. You need a method that truly sanitizes the drive.
The Growing Need for Secure Wiping
The sheer volume of data we store is staggering. While SSDs are popular, traditional HDDs are still everywhere because they're cheap and offer huge amounts of storage. In fact, enterprise shipments of HDDs are expected to keep growing until 2030.
Even though HDD shipments took a small dip in early 2025, the amount of data we can cram onto a single platter has been growing by about 20% annually since 2000. We're now seeing drives that can hold up to 36TB of information. Just imagine how much personal data you could leave behind on a drive that massive if you don't wipe it correctly.
Key Takeaway: Deleting files just hides them. Secure wiping actually destroys the data by overwriting it or electronically erasing it, making it virtually impossible for someone to get it back. This is the only way to protect your sensitive information from falling into the wrong hands.
Your Pre-Wipe Preparation Checklist
Trying to clear a laptop hard drive without doing a little prep work is like painting a room without putting down drop cloths. It’s messy, risky, and you'll probably regret it later. A few simple steps beforehand can be the difference between a smooth, secure wipe and a frustrating disaster.
Before you even think about starting a data destruction process, your absolute first step is to back up everything you need to keep. I can't stress this enough. Once that wipe begins, there is no undo button.
Secure Your Essential Data First
Think about your personal files—all the documents, photos, project files, and cherished memories. They’re irreplaceable. You’ve got a few solid options for backing them up safely.
- External Hard Drives: A physical drive is a really straightforward way to create a full system image or just drag and drop your most important folders. This gives you a tangible copy of your data that you have complete control over.
- Cloud Storage Services: Platforms like Google Drive, Dropbox, or OneDrive are fantastic for backing up specific files and folders. The big plus here is that you can access them from any device, anywhere you have an internet connection.
Before you go any further, it's a good idea to check out a comprehensive data backup and recovery guide to make sure you haven't missed anything critical. It helps ensure you've covered all your bases before hitting the point of no return.
Gather the Right Tools for the Job
Once your data is safely tucked away somewhere else, it's time to get your tools ready for the wipe itself. You can't run a wiping utility from the same operating system you're trying to erase, which means you'll need a separate, bootable device to do the job.
Most of the time, this means creating a bootable USB drive. You can load this drive with a dedicated wiping tool like DBAN (which we'll get into later) or a fresh operating system installer. Both Windows and macOS provide tools to create bootable installation media, which also contain disk utility functions perfect for formatting and wiping the main drive.
If you're planning to donate or recycle your machine, our guide on preparing your laptop for recycling offers some extra context on getting your device ready for its next life.
Crucial Tip: An unexpected power outage during a wipe can be catastrophic. It can corrupt the drive, leaving it completely unusable and making the data erasure process incomplete. Always, always make sure your laptop is plugged directly into a reliable power source before you start and for the entire time it's working.
This one simple action prevents one of the most common—and entirely avoidable—reasons for failure when you clear a laptop hard drive. It's a tiny step that saves you from a massive headache.
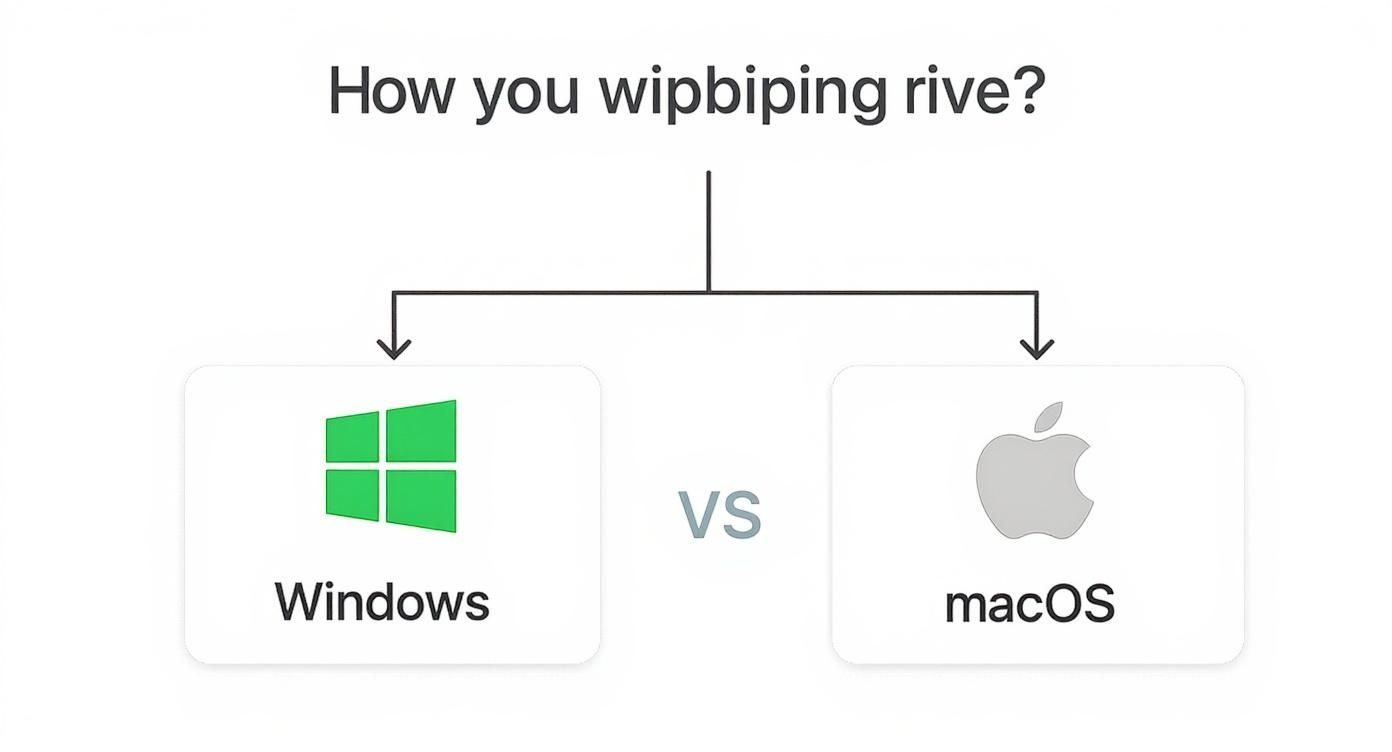
Using Built-In Tools on Windows and macOS
You might be surprised to learn that you don't always need to hunt down third-party software to securely wipe your laptop. Both Windows and macOS have powerful, native utilities baked right in that can get the job done, making sure your data is gone for good before you sell, donate, or recycle your computer.
These tools are built directly into the operating system, which makes them a reliable and easily accessible first choice. For Windows users, the key is a feature hidden within the recovery options. Mac users will turn to the tried-and-true Disk Utility. Let's break down how to use them.
How to Securely Wipe a Windows Laptop
If you're running a modern version of Windows—think Windows 10 or 11—you have a tool called Reset this PC. At first glance, it sounds like a simple factory reset, but one crucial option turns it into a serious data destruction tool.
When you start the process, you'll face two choices: "Keep my files" or "Remove everything." To actually clear the drive, you have to select "Remove everything." This tells Windows you want a completely fresh start. But don't stop there. The next screen has a "Change settings" link, and this is where the real magic happens.
Inside those settings, you'll find a toggle for "Clean the drive." This is the single most important step. Turning it on is what separates a quick, superficial format from a secure, deep clean.
- When "Clean the drive" is OFF: Windows just does a quick format. It removes the file pointers, making your data invisible but not actually gone. It's easily recoverable with the right software.
- When "Clean the drive" is ON: This is the real deal. Windows methodically writes zeros over the entire drive, effectively shredding your old data and making it next to impossible to recover.
Fair warning: this overwriting process isn't fast. It can take several hours, especially on larger hard drives. But the peace of mind you get is well worth the wait. And while you're managing your drive, having a basic [understanding of BitLocker](https://monrocloud.com/how to/what-is-bitlocker/) is helpful, as this built-in encryption adds a powerful layer of protection from the start.
Step-by-Step for Windows 10 and 11
Ready to do it? Here’s the path:
- Head to Settings > Update & Security > Recovery. (On Windows 11, it's Settings > System > Recovery).
- Find the "Reset this PC" section and click Get started.
- Choose the Remove everything option. No exceptions.
- You can pick either "Cloud download" or "Local reinstall" for getting a fresh copy of Windows. This choice won't affect the data wipe.
- On the "Additional settings" screen, click Change settings.
- Flip the switch for Clean data? to Yes. This is the critical step.
- Confirm everything and let the reset begin. Your laptop will restart and start clearing the drive before putting a fresh copy of Windows on.
How to Securely Erase a macOS Laptop
For anyone on a Mac, your go-to tool is Disk Utility. You'll find it in macOS Recovery Mode, and it gives you complete control over erasing, formatting, and managing your drives. The exact method changes a bit depending on whether you have an older Mac with a spinning hard drive (HDD) or a newer model with an SSD and Apple silicon (M1, M2, etc.).
On newer Macs that have an Apple T2 Security Chip or any Apple silicon chip, your data is already encrypted at the hardware level by default. When you erase the drive, what you're actually doing is destroying the encryption keys. Without the keys, the data on the drive is just a pile of undecipherable gibberish. This is incredibly secure and happens almost instantly.
Expert Tip: On a Mac with a T2 chip or Apple silicon, the "Erase Volume Group" command in Disk Utility is all you need. It cryptographically shreds the keys to your data, which is the modern, faster equivalent of overwriting an old HDD multiple times.
If you're working with an older Mac, especially one with a traditional HDD, Disk Utility gives you Security Options that let you securely overwrite the drive's data, just like on Windows.
Navigating Disk Utility for a Secure Erase
First things first, you need to boot into Recovery Mode. How you do this depends on the chip inside your Mac:
- For Intel-based Macs: Shut down the Mac. Turn it on and immediately press and hold Command (⌘) + R until the Apple logo or a spinning globe appears.
- For Apple silicon Macs: Shut the Mac down. Now, press and hold the power button until the startup options window loads. Click Options, then hit Continue.
Once you're in the macOS Utilities window, select Disk Utility.
- In the Disk Utility menu bar, go to View > Show All Devices. This is a crucial step because it lets you select the entire physical drive, not just a partition on it.
- In the sidebar, click on the top-level internal drive (it might be named "APPLE HDD" or "APPLE SSD").
- Click the Erase button in the top toolbar.
- Name the drive (something simple like "Macintosh HD") and choose a format. APFS is the standard for modern macOS, while Mac OS Extended (Journaled) is for older systems.
- On older Intel Macs with HDDs, you'll see a Security Options button. Clicking this brings up a slider to choose how many times you want to write over the data—from a single pass (fastest) to multiple passes (most secure, but can take a very long time).
Once the erase is complete, your Mac is a clean slate, ready for a fresh OS or its next adventure. To see how this fits into the bigger picture of electronics lifecycle management, take a look at our guide to data security and responsible disposal.
Advanced Wiping with Third-Party Software
While the built-in tools on your laptop are decent for everyday situations, sometimes you need to bring in the heavy hitters. If you're dealing with truly sensitive data, getting a laptop ready for corporate decommissioning, or just want absolute peace of mind, third-party data destruction software is the way to go. These tools offer military-grade security that makes your data completely irrecoverable.
Think of it this way: the tools built into Windows or macOS do a good job, but dedicated software is designed for one thing only—total data annihilation. They methodically overwrite every single sector of your hard drive with random data, often multiple times, following strict international standards for data sanitization.
This simple decision tree can help you figure out which path is right for you.
As you can see, both major operating systems give you options, but the advanced methods we're about to cover provide a level of security that goes far beyond the basics.
Why Third-Party Tools Are the Gold Standard
The real strength of dedicated wiping software is its strict adherence to proven data sanitization protocols. These aren't just random processes; they are specific, recognized algorithms developed by government and military agencies to ensure data is gone for good.
One of the most famous standards is DoD 5220.22-M, a method specified by the U.S. Department of Defense. It involves a three-pass process that overwrites your drive with specific patterns, making it nearly impossible for even the most sophisticated forensic labs to pull anything off it.
The need for such powerful tools is only growing. The total amount of data in the world is projected to explode to 181 zettabytes by 2025—a staggering jump from 33 zettabytes in 2018. With more data packed onto bigger drives, the risk of data fragments surviving a simple format increases, making certified erasure methods a must.
Top Drive Wiping Utilities Compared
When you start searching for these tools, you'll come across a few trusted names that pop up again and again. While they all aim for total data destruction, they each have their own strengths and are suited for slightly different situations. I've put together a quick comparison to help you choose the right one for your needs.
| Tool | Primary Use | Supported Standards | Ease of Use | Cost |
|---|---|---|---|---|
| DBAN | Wiping entire HDDs from a bootable USB/CD. | DoD 5220.22-M, Gutmann, PRNG Stream | Moderate | Free |
| Eraser | Wiping specific files, folders, or drives within Windows. | DoD 5220.22-M, Gutmann, Schneier | Easy | Free |
| Blancco | Certified, auditable data erasure for enterprise compliance. | NIST 800-88, DoD 5220.22-M, and 20+ more | Moderate | Paid |
| KillDisk | Data sanitization for various drives, including SSDs. | DoD 5220.22-M, NIST 800-88, and more | Easy | Free & Paid versions |
For most people just looking to securely wipe an entire drive before selling or recycling a laptop, DBAN is the classic choice. It's powerful, it's free, and it has been trusted in the industry for years to get the job done right.
A Quick Walkthrough Using DBAN
Darik's Boot and Nuke (better known as DBAN) is a legend in the data destruction world. It’s a self-contained program that you boot from a USB drive, and it completely erases every hard drive it detects. Because it runs before your operating system even loads, it can wipe any drive, no matter what was on it.
Getting started is pretty simple. You’ll need to download the DBAN software and use another tool to create a bootable USB drive with it. Once you have your bootable USB ready, the process is straightforward:
- Boot from the USB. Plug the USB drive into your laptop, restart it, and immediately enter the BIOS or UEFI settings (this usually involves pressing a key like F2, F12, or DEL during startup). From there, change the boot order so the laptop boots from your USB drive first.
- Launch DBAN. After saving your BIOS settings, the computer will restart and load the DBAN interface. It has a classic, text-based look—don’t worry, it’s easier than it seems.
- Choose your wipe method. For a quick and brutally effective wipe, just type
autonukeand hit Enter. This will start the DoD Short method (a 3-pass wipe), which is more than enough for virtually any scenario. - Select your drive (carefully!). If you have multiple drives and only want to wipe one, you can enter interactive mode to pick a specific target. Be extremely careful here. Choosing the wrong drive will permanently erase all its data.
- Wait for it to finish. Once the process starts, your job is done. A secure wipe takes time—anywhere from a few hours to over a day, depending on the drive's size and the method you selected. Just let it run until you see the "DBAN succeeded" message.
Final Warning: DBAN is incredibly effective, which also means it's incredibly destructive. Once you kick off a wipe, there is no undo button. Triple-check that you have backed up any data you want to keep and that you are absolutely certain you're wiping the correct drive.
While DIY tools like DBAN are fantastic, some situations require certified, professional help. For businesses that need guaranteed, documented proof of data destruction across multiple devices, understanding why you should use a data destruction service can provide that extra layer of compliance and peace of mind.
What to Do After Wiping Your Hard Drive
Congratulations, the hard part is over. Your laptop's hard drive is now a completely clean slate, and any personal data you had on there is gone for good.
So, what’s next? Your next move really just depends on your plans for the machine. If you're keeping it, the path forward is pretty simple. If you're letting it go, you have a chance to make a real impact.
Reinstalling Your Operating System
If your whole goal was to clear out the laptop for a fresh start, the next logical step is to reinstall the operating system. Since the wipe removed everything—including Windows or macOS—you'll need to install it again from scratch.
This is usually done with a bootable USB drive, which you might have already made during the prep phase. Just boot your laptop from that USB installer and follow the on-screen prompts. You’ll have a clean version of your preferred OS up and running in no time.
The Responsible Path: Selling, Donating, or Recycling
On the other hand, if you're upgrading and moving on from this old laptop, you've got a few solid options. Selling or donating the device is a great way to extend its life, but when the hardware has truly reached the end of the line, recycling is the only responsible choice.
But not all recycling services are created equal. Just dropping your old tech in a generic e-waste bin misses a huge opportunity to do a lot more good. Why not partner with a service that turns your old electronics into a force for good?
"Your old tech can house a veteran and grow a forest." By choosing a cause-based recycler, you can connect the simple act of clearing a hard drive to tangible, positive outcomes that restore both lives and landscapes.
Turning E-Waste into Hope with GreenAtlanta.com
Here in the Atlanta metro area, services like Atlanta Green Recycling offer a unique, dual-mission approach. We provide secure, certified data destruction and responsible electronics recycling that directly supports vital community causes. It's a model we built from the ground up to turn e-waste into meaningful action.
This "Recycle for a Cause" approach ensures your old devices don't just avoid a landfill—they create a positive ripple effect. We've partnered with organizations to provide critical aid to veterans and fund reforestation efforts, making your contribution count twice.
We believe in total transparency to showcase this impact. Our partners and the community can see live counters on our website tracking milestones like “1,245 veterans supported” and “3,700 trees planted.” It's real social proof that your decision to recycle responsibly makes a verifiable difference.
So, after you clear your laptop's hard drive, think beyond simple disposal. By choosing a partner with a purpose, you ensure your data is secure while transforming your old technology into a powerful tool for community support and environmental restoration. It's the final, most impactful step in your device's lifecycle.
Sometimes, just wiping a drive with software isn’t going to cut it. You need a more permanent, foolproof solution.
That’s when you have to think about physical destruction.
When to Consider Physical Drive Destruction
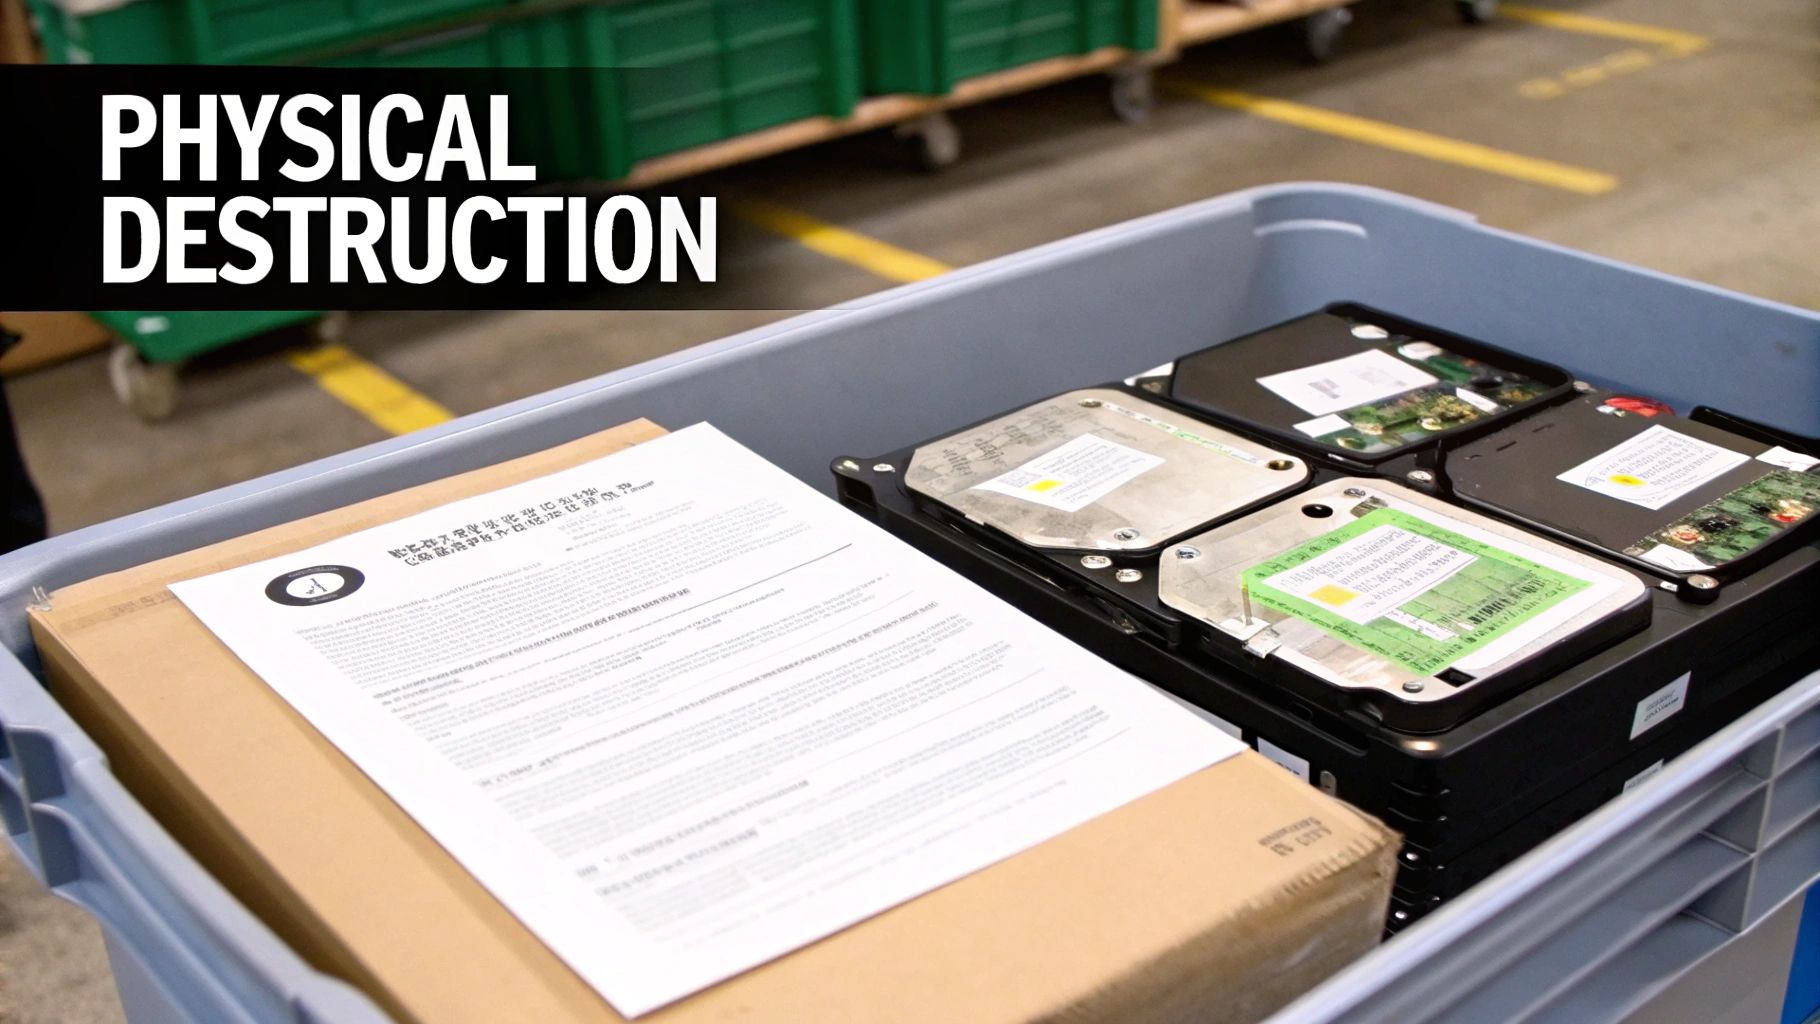
For hard drives that once held trade secrets, classified government information, or sensitive financial records, physical destruction is the only way to be 100% certain the data is gone for good. This method goes beyond software, making any kind of data recovery physically impossible.
It also becomes the go-to option when a drive is too damaged or old to be wiped properly. Think about a drive that just clicks and whirs, or one your computer won't even recognize. You can't run a software wipe on that, leaving all its data stuck in a vulnerable state. The same goes for a drive that fails right in the middle of a wipe—a huge security risk.
Scenarios Demanding Ultimate Data Security
In some situations, destroying the drive isn't just a good idea; it's an absolute requirement. These scenarios often involve strict compliance rules or incredibly high stakes where a data leak would be catastrophic.
- End-of-Life Corporate Devices: Company laptops are often treasure troves of proprietary R&D, client lists, and future business plans. To prevent corporate espionage, these drives need to be completely destroyed.
- Compliance with Regulations: Industries like healthcare (HIPAA) and finance have tough rules about data disposal. In these cases, a formal certificate of destruction is often needed to pass an audit.
- Failed or Damaged Drives: If you can't access the drive to run software on it because it's broken, destruction is really your only secure option left.
The reality of hard drive failure rates really drives this point home. As drives get older, they get less reliable, and the chance of a software wipe failing partway through skyrockets. A Backblaze report from early 2025, which monitored over 312,000 drives, found that some models had annualized failure rates as high as 9.47%. Trying to wipe a drive that's already on its last legs is a gamble you don't want to take.
Beyond the Drill Press: A Look at Professional Methods
You might be tempted to just take a drill to the old drive, but drilling a few holes isn't a guaranteed fix. A determined data thief could potentially recover information from the parts of the platters that are still intact. Professional destruction services use methods that are far more thorough.
Key Takeaway: For the highest level of security, particularly with damaged drives or those under strict regulatory control, physical destruction is the definitive final step in the data sanitization process.
Methods like industrial shredding literally grind the drive down into tiny, unrecognizable pieces of metal. Another powerful technique is degaussing, which uses an intense magnetic field to completely scramble and erase the data on traditional HDDs.
Working with a certified service is critical here because they provide a Certificate of Destruction. This document is your legal proof that the data was destroyed responsibly and permanently—something that's absolutely vital for business compliance.
For businesses and individuals in the Atlanta area who need this level of security, looking into professional secure hard drive shredding is the best way to ensure your sensitive information is handled correctly. It’s the ultimate peace of mind.
Common Questions About Wiping Hard Drives
Once you've picked a method to clear a laptop's hard drive, a few practical questions almost always pop up. Getting these answers straight from the get-go will help you plan things out and sidestep the usual headaches, especially when you're juggling different kinds of drive technology.
Let’s walk through some of the most common queries I hear so you can move forward with confidence.
How Long Does a Full Hard Drive Wipe Take?
Honestly, the time it takes to securely wipe a drive is all over the map—it could be a few minutes or stretch out for more than a day. The real answer depends on a few key factors.
- Drive Size: This one's pretty straightforward. A massive 4TB HDD is going to take a lot longer to overwrite than a little 256GB drive.
- Wiping Method: A quick single-pass overwrite is miles faster than a heavy-duty, multi-pass method like the DoD 5220.22-M standard, which scribbles over your data multiple times.
- Drive Type: Securely erasing an SSD using its built-in commands is almost always way faster than overwriting a classic spinning HDD of the same size.
Does Wiping the Drive Remove the Operating System?
Yes, it absolutely does. A proper, thorough hard drive wipe gets rid of everything. We're talking personal files, every program you've installed, and the entire operating system, whether it's Windows or macOS. The drive will be completely blank, just like it was when it left the factory.
That's exactly why creating a bootable USB with an OS installer is such a critical prep step if you plan on using the laptop again. Once the wipe is done, you'll need that installer to put a fresh, clean operating system back on the machine.
Important Note: Wiping a traditional HDD is not the same as wiping a modern SSD. You can overwrite an HDD all day long, but doing that to an SSD can cause unnecessary wear and tear, shortening its lifespan. For SSDs, you should always use the manufacturer's own utility or the built-in Secure Erase functions, which are designed to safely reset the drive's memory cells without degrading them.
When your devices reach the end of their life, ensure their data is destroyed securely and the hardware is recycled responsibly. At Atlanta Green Recycling, we offer certified data destruction and eco-friendly electronics recycling for businesses across the Atlanta metro area, turning your e-waste into community support.
Learn more about our secure recycling solutions at https://www.greenatlanta.com